
Embarking on the journey of drone building offers an enthralling experience that goes beyond simply assembling parts. For beginners trying to understand how to build a drone, the process involves selecting frame sizes, from nano to large, and deciding on the type such as quadcopters, known for their popularity due to stability and ease of control. This hands-on project not only allows enthusiasts to dive deep into the realms of aerodynamics involving pitch, roll, and propellers but also equips them with the knowledge to tackle repairs, making it a rewarding venture into the world of FPV (First Person View) drones, celebrated for providing an immersive flight experience.
The guide structured around how to build a drone will dissect the critical stages, from gathering essential components like electronic speed controllers and efficient propellers that determine the drone’s amps, through the meticulous assembly process. Each step promises to enhance the builder’s understanding of their drone’s mechanics, ensuring they are well-prepared for testing, troubleshooting, and ensuring safety checks. By unraveling the complexities of drone construction, builders are not just crafting a flying device; they are stepping into a world of innovation where creativity meets the cutting-edge of technological advancements.
The Essentials of Drone Building
To embark on your drone building adventure, understanding the essential components is crucial. Each part plays a specific role in ensuring your drone functions correctly and safely. Here’s a breakdown of these critical components:
Frame Types and Sizes
- Tricopter (3 motors): Less common, offers unique maneuverability.
- Quadcopter (4 motors): Most popular, known for stability and ease of control.
- Hexacopter (6 motors), Octocopter (8 motors): Provide more lift and stability, useful for heavy payloads.
- Frame Measurement: Typically measured in millimeters between diagonal motors, influencing the drone’s overall size and capability.
Motors and Propellers
- Motor Types: Brushless motors are preferred for their efficiency and durability.
- Motor Specs: Size and KV rating (RPM per volt) crucial for matching with appropriate propellers.
- Propellers: Identified by a four-digit number (e.g., 8045), where the first two digits are the diameter in inches, and the last two are the pitch.
Core Electronics
- Electronic Speed Controllers (ESC): Vital for converting DC voltage to three-phase AC to drive brushless motors.
- Lithium Polymer Battery (LiPo): High capacity for sustained power delivery, specified by mAh (capacity), C-rating (discharge rate), and cell count.
- Power Distribution Board (PDB): Distributes power from the battery to ESCs and other components.
- Flight Controller: Acts as the brain, processing input from various sensors to stabilize the drone and manage flight paths.
- GPS Module: Enhances flight stability and tracking by providing real-time location data.
Each component must be compatible with others to ensure smooth functioning. Always check specifications carefully before assembly to avoid common pitfalls such as mismatched motor and propeller sizes or insufficient battery power.
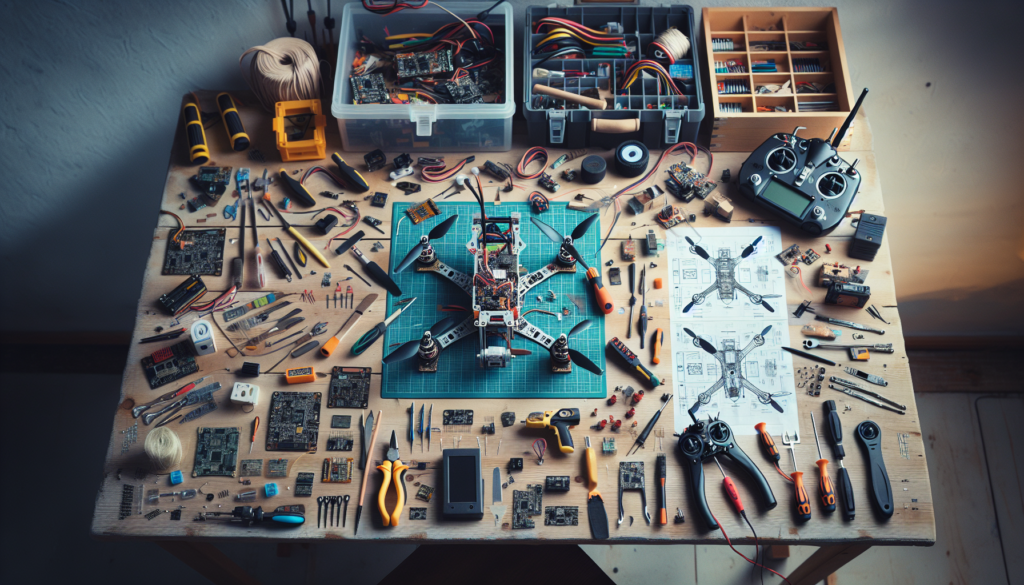
Gathering the Necessary Components
Gathering all the necessary components is a foundational step in the journey to build your own drone. Here’s a detailed checklist to ensure you have everything required:
Key Components
- Frame: Choose a frame that suits the type of drone you are building; options include materials like PCB, Fiber, Aluminum, or even Wood. Ensure it supports the number of arms corresponding to the motors.
- Motors and Propellers: Opt for brushless motors for their longevity and efficiency. Match the propellers to the frame and motor specifications, ensuring the correct pitch and diameter for optimal flight.
- Electronic Speed Controllers (ESC): One ESC per motor is needed to control the speed and provide dynamic braking.
- Flight Controller: Acts as the drone’s brain. Select a controller with a gyroscope and accelerometer for stability.
Power and Control
- Batteries: Typically, LiPo batteries are used due to their high energy density. Ensure the voltage and capacity match your drone’s requirements.
- Power Distribution Board: This component connects the battery to ESCs and other electronic components.
- Radio Transmitter and Receiver: A minimum 4-channel controller is necessary for basic maneuvers.
Additional Essentials
- Connectors: Essential for linking motors, ESCs, and the power board.
- Battery Monitor: Useful for tracking battery status to avoid power failures during flight.
- Landing Gear: Optional based on your expertise; it aids in safe landings.
Each component must be compatible with others, and specifications should be meticulously checked before assembly begins. Ensure all parts are sourced from reliable suppliers to avoid any disruptions in the building process.
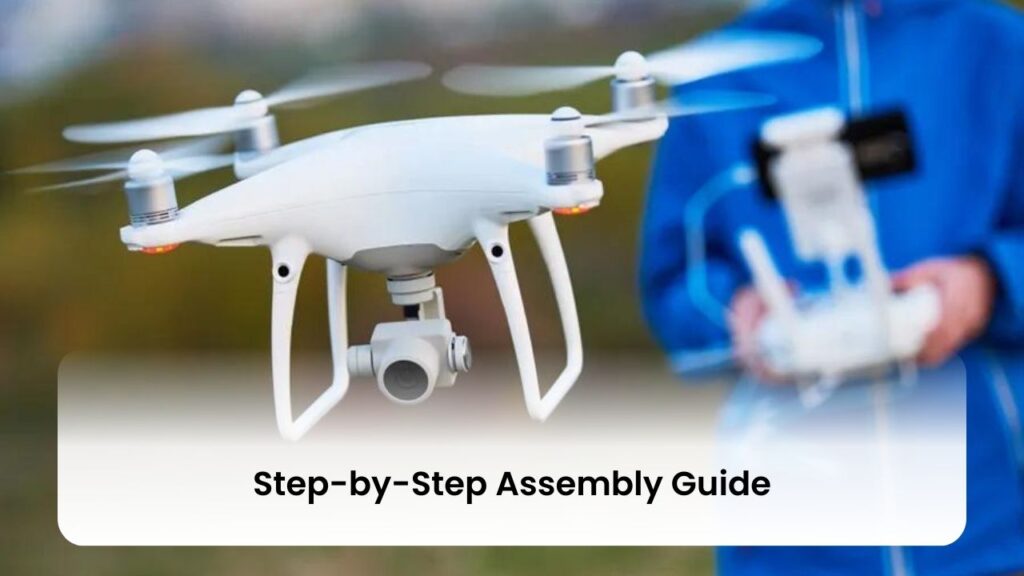
Step-by-Step Assembly Guide
Frame and Motor Setup
- Begin by assembling the iFlight frame. Ensure that the frame is in an ‘X’ shape, with each arm extending towards what would be the corner of a perfect square.
- Attach the motors to the frame. Drill holes if necessary and secure each motor using the screws provided. The motors should be arranged according to their specific order (1, 2, 3, 4) to ensure proper operation.
Wiring and Electronics
- Start by preparing the pads on the flight controller for the camera (T-Rex from Fox), receiver (FrSky), and video transmitter (Rush). Solder the necessary wires to their respective pads.
- Install the Mamba Stack F405 MK3 Light Edition as your ESC and flight controller. Connect the electronic speed controllers to each motor using braided wires for enhanced durability.
- Attach the low ESR capacitor and the XT60 connector to the ESC. Ensure the red wire is soldered to the positive pad and the black wire to the negative pad.
Final Assembly and Pre-Flight Checks
- Connect the battery (6s or 4s) to the power distribution board (PDB), and then link the PDB to the ESCs and flight controller. This setup will ensure that power is evenly distributed across all components.
- Secure all connections with heat shrink or electrical tape to prevent any loose ends. Use zip ties and double-sided sticky tape to organize wires and ensure they do not interfere with moving parts.
- Perform a dry fit test before final soldering to troubleshoot any potential fitment issues. Double-check all connections, and then connect the drone to a Ground Control Station (GCS) to calibrate sensors and perform a final test flight without the propellers to ensure everything functions as intended.
Software Configuration and Calibration
To ensure your drone operates at peak performance, proper software configuration and calibration are essential. This process involves several critical steps:
Calibration and Configuration Steps
- Check Battery and Connect Drone:
- Begin by checking the battery level to ensure it is sufficient for the calibration process.
- Connect the drone to your device using a compatible cable or a wireless connection.
- Install and Update Software:
- Install the necessary app or software on your device. Wait for the software to recognize your drone.
- Update the drone’s firmware to enhance performance, stability, and security.
- Calibration Procedures:
- Compass Calibration: Perform this in a flat, open area free from magnetic interference.
- IMU Calibration: Place the drone on a stable, level surface away from heat and wind. This step is crucial for accurate sensor readings and should be repeated whenever you fly in a new location or post-firmware updates.
- Gimbal Calibration: Ensure the drone is on a level surface and the camera is facing forward. Keep the drone stationary throughout this process.
Important Tips for Accurate Flying:
- Regular calibration is key to preventing issues such as drifting, unstable flight, and inaccurate control responses.
- Avoid areas with magnetic interference during compass calibration.
- Keep the drone’s firmware and flight control software updated.
- Be mindful of environmental factors like weather conditions and wind speed.
By following these guidelines, you can maintain your drone’s efficiency and reliability, ensuring a safe and enjoyable flying experience.
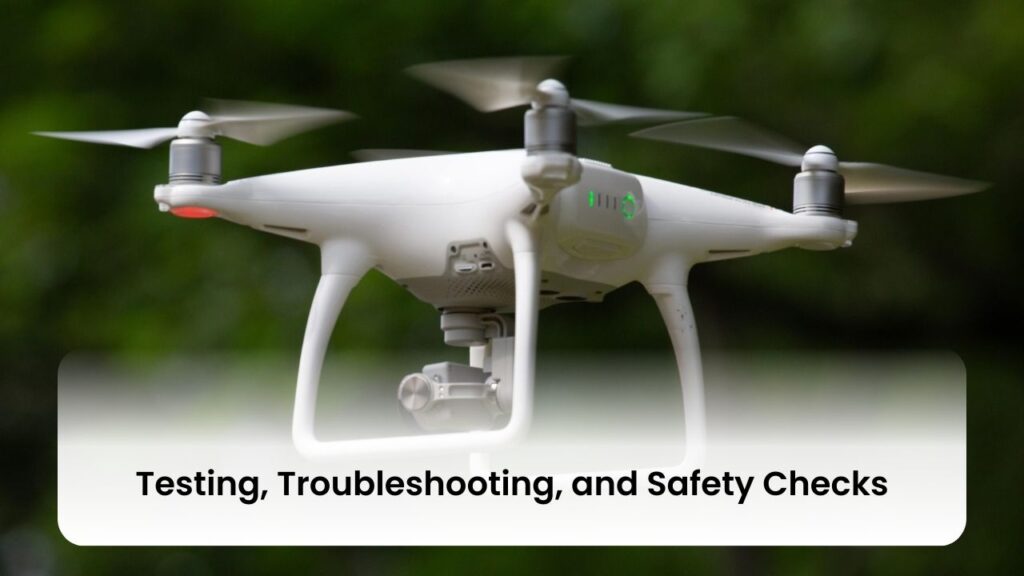
Testing, Troubleshooting, and Safety Checks
Pre-Flight Checks
- Visual Inspection: Ensure there are no visible damages on the drone. Check the hull, propellers, and camera for any signs of wear or defects.
- Battery Checks: Confirm that all batteries, including those for the drone, controller, and any ancillary devices, are charged within the 30-90% range. Inspect for any swelling or damage.
- Control Systems: Verify the connection between the controller and the drone. Check that the firmware for all components is up to date.
- Calibration: Perform IMU and compass calibrations to ensure accurate sensor readings. Confirm GPS lock is active.
During Flight
- Monitor Flight Path: Keep the drone within Visual Line of Sight (VLOS) and adhere to the flight plan. Continuously monitor the battery levels and signal strength.
- Emergency Preparedness: Be ready to execute a controlled landing or return to home if the drone exhibits unexpected behavior or if battery levels drop significantly.
Post-Flight Procedures
- Inspection: Remove and inspect the propellers and camera. Check the hull for any new defects or issues.
- Maintenance: Identify any areas needing maintenance and forward the test report to your maintenance technician.
- Record Keeping: Log the flight details, including any anomalies or deviations from the planned operation.
By adhering to these structured testing and safety protocols, drone operators can ensure a safe and successful flight, minimizing risks and maximizing operational efficiency.
Explore More Categories:
Conclusion
Through the exploration of drone building, from understanding essential components to navigating the precise assembly process, we’ve delved into the intricacies that transform a collection of parts into a seamlessly functioning flying machine. Our journey has not only unraveled the technicalities involved in selecting the right frame, motors, and electronic components but also highlighted the significance of meticulous assembly and calibration to ensure optimal performance. This step-by-step guide serves as a foundational blueprint for enthusiasts embarking on their drone-building venture, emphasizing the importance of a harmonious integration of parts for innovative aerial exploration.
FAQs
Q. What are the steps to construct a drone from scratch?
To construct a quadcopter drone, follow these steps:
- Choose a suitable frame.
- Select appropriate motors and propellers.
- Pick a flight controller.
- Choose a radio transmitter and receiver.
- Select a battery and power distribution system.
- Assemble all the components.
- Configure the flight controller.
Q. What components are necessary to build a drone?
Building a do-it-yourself (DIY) drone requires several key components: a frame, a flight controller, motors and propellers, a remote control system, a battery, and optionally, a camera or sensors. These elements are essential for constructing a functional and customizable drone.
Q. Is it possible to construct a drone by myself?
Yes, you can build your own drone. For beginners, a simple quadcopter is recommended as it is easier to build and control. Starting with a simpler model can help you learn the basics of drone operation and technology before advancing to more complex and expensive drones.
Q. What is the financial cost of creating a drone?
Constructing a DIY drone can sometimes be more costly than purchasing a pre-built, branded drone. The cost typically ranges from $350 to $500 for a basic model, while more advanced drones can cost around $1000 to build. The total cost will vary depending on the quality and capability of the components used.